
Coding a Pomodoro Timer - Part 2
- Coding
- HTML
- CSS
- Javascript
July 17, 2023
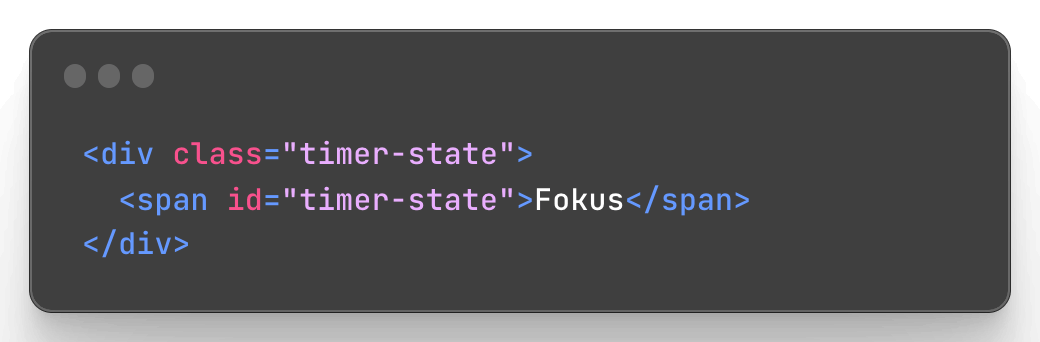
In my previous post, I implemented the HTML markup for the
timer. However, I realized that I forgot to include a
<div> element with a nested
<span> element to display the timer's state.
To dynamically change the state based on whether the timer is in
focus or pause mode, I will use Javascript code and assign it an
ID.
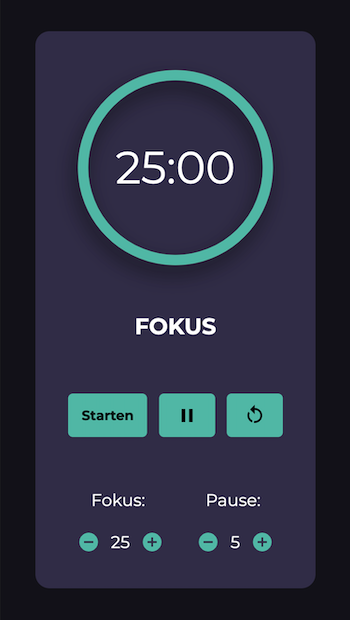
If I open my html file in the browser the timer looks now like this:

To change the visual appearance I need to add CSS (Cascading Style Sheets). It allows you to control the layout, colors, fonts, spacing and a lot more. After adding some CSS, my timer looks like this:
I won't go over every CSS property I used, but it's important to focus on the essential steps you need to take in order to add CSS to your project:
Create and connect a CSS file
You could add CSS directly in your HTML, but I would not
recommend doing this. Instead you want to create a separate CSS
file (for example styles.css) and save it in the same directory
as your HTML file. To connect a CSS stylesheet to an HTML file,
you can use the <link> element within the
<head> section of the HTML document with the
following line of code:

The rel attribute specifies the relationship
between the HTML file and the linked document, indicating that
it's a stylesheet. The type attribute indicates the
nature and format of a document or file. Finally the
href attribute specifies the path to the CSS file,
which should be relative to the HTML file.
Classes and IDs
If you want to style elements in your HTML document it is common
to use classes or IDs to target the specific elements. Classes
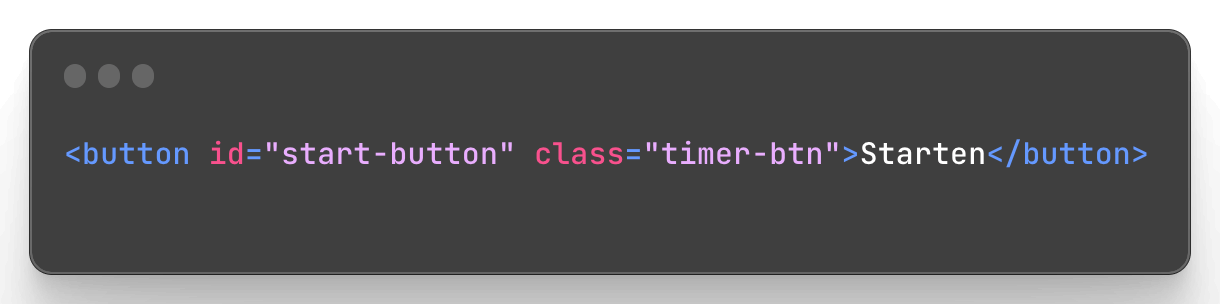
are defined using the class attribute in HTML tags.
Multiple elements can share the same class, allowing you to
apply the same styles to multiple elements. For example for the
buttons I used a class called "timer-btn" like this:
 With the addition of that class, I can now target it in my CSS
file and modify various properties:
With the addition of that class, I can now target it in my CSS
file and modify various properties:
 It is similar with IDs but the difference is that IDs must be
unqiue within the document. IDs are typically used to style a
specific element or apply Javascript functionality. In the CSS
file, you can target elements with a specific ID using the hash
notation
It is similar with IDs but the difference is that IDs must be
unqiue within the document. IDs are typically used to style a
specific element or apply Javascript functionality. In the CSS
file, you can target elements with a specific ID using the hash
notation #idname.
For more comprehensive information on the fundamentals of CSS, I recommend checking out sources like Mozilla, W3Schools or one of my personal favorite learning platforms, FreeCodeCamp.
In the next post I will go through the different functionalities of the timer using Javascript.